How to Change Acoustic Guitar Strings: A Step-by-Step Guide
Whether you're a beginner learning your first chords or a seasoned player preparing for your next gig, changing your acoustic guitar strings is a fundamental skill every guitarist should master. Over time, strings lose their brightness, become harder to tune, and even break. Fresh strings not only improve your guitar’s tone but also enhance your playing experience. This guide walks you through everything you need to know about changing acoustic guitar strings efficiently and safely.
Why You Need to Change Your Strings
Before we dive into the how, let's understand the why. Acoustic guitar strings wear out due to:
Finger oils and sweat that corrode the metal.
Dirt and dust that build up over time.
Constant tension that causes metal fatigue.
Frequent playing, which flattens the wound strings.
As a rule of thumb, casual players should change strings every 3–4 months, while frequent performers may need to change them every 2–4 weeks.
Tools You’ll Need
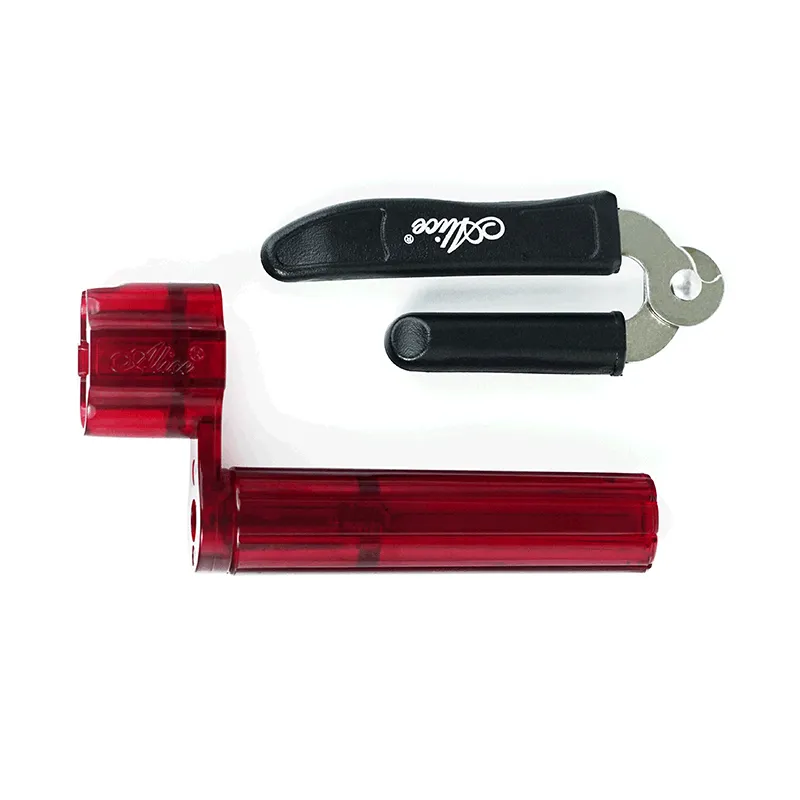
To change your acoustic guitar strings, gather the following:
A new set of acoustic guitar strings
A string winder (optional but helpful)
A string cutter or regular wire cutters
A tuner (clip-on or app-based)
A cloth for cleaning
Step-by-Step Process
Step 1: Loosen and Remove Old Strings
Start by loosening the strings using the tuning pegs. Turn them until the strings become slack and can be easily unwound. Once loose, unwind the string from the tuning peg and remove it.
Next, remove the bridge pins holding the string in place at the bridge. You can use a string winder with a built-in bridge pin puller or gently wiggle them out with your fingers. Pull out the string completely.
Tip: Remove and replace one string at a time to maintain neck tension and avoid resetting the truss rod.
Step 2: Clean Your Guitar
With the strings removed, now is a great time to clean the fretboard and body. Use a dry cloth or specialized guitar cleaner to wipe away dust and grime, especially around the frets and bridge.
Step 3: Insert New Strings
Take a new string from your set, starting with the low E string (the thickest one). Insert the ball end of the string into the bridge hole and place the bridge pin back in, pressing it down while gently pulling the string upward to seat the ball.
Repeat this process for each of the six strings, working from the lowest (E) to the highest (e).
Step 4: Wind the Strings on the Pegs
Now it's time to attach the string to the tuning pegs.
Thread the string through the hole in the peg from the inside out.
Leave some slack – about 2 to 3 inches of loose string – to allow a few windings.
Begin turning the tuning peg to tighten the string. Ensure that the string wraps neatly downward on the peg without overlapping.
Use a string winder to speed up the process if you have one.
Make sure the strings wind in the correct direction: for the 3 bass strings (E, A, D), wind counterclockwise; for the 3 treble strings (G, B, e), wind clockwise.
Step 5: Stretch and Tune
After installing all six strings, stretch them gently by pulling each one upward around the 12th fret. This helps the strings settle and stay in tune faster.
Then, use a tuner to bring each string up to pitch:
E (6th string)
A (5th string)
D (4th string)
G (3rd string)
B (2nd string)
e (1st string)
Repeat tuning a few times after stretching, as the strings will go flat initially.
Step 6: Clip the Excess
Once everything is tuned and stretched, use a wire cutter to trim off the excess string near the tuning pegs. Leave about 1/4 inch of string to prevent slippage.
Tips for a Smooth String Change
Change strings in a well-lit, quiet space.
Wash your hands before playing to extend string life.
Store your guitar in a case to protect it from humidity and dust.
Consider coated strings if you want longer-lasting tone and less maintenance.
Choosing the Right Strings
Acoustic guitar strings come in various materials and gauges. Here's a quick guide:
Light gauge (.012–.053): Easier to play, good for fingerstyle.
Medium gauge (.013–.056): Louder, more tension, good for strumming.
Phosphor bronze: Warm and bright tone.
80/20 bronze: Bright and crisp tone.
Final Thoughts
Changing your acoustic guitar strings may seem intimidating at first, but once you've done it a couple of times, it becomes second nature. Clean hands, careful winding, and accurate tuning will give your guitar a fresh voice and make playing more enjoyable.
Upgrade Your Tone with Alice Strings
For musicians seeking durability, brilliant tone, and comfortable playability, Alice Strings offers a wide range of acoustic guitar strings crafted with precision and passion. Whether you're practicing at home or performing on stage, Alice Strings deliver reliable quality and rich sound at an affordable price. Trusted by beginners and professionals alike, they’re a solid choice for your next string change.
Relate News


Common Guitar String Problems and How to Fix Them

Why Your Guitar Strings Keep Breaking (and How to Prevent It)

A Beginner’s Guide to Acoustic Guitar Strings

How to Source High-Quality Guitar Strings: A Complete Buyer’s Guide

Phosphor Bronze Strings vs. 80/20 Bronze Strings: Which Should You Choose?

What is the Difference Between Guitar Strings and Guitalele Strings?
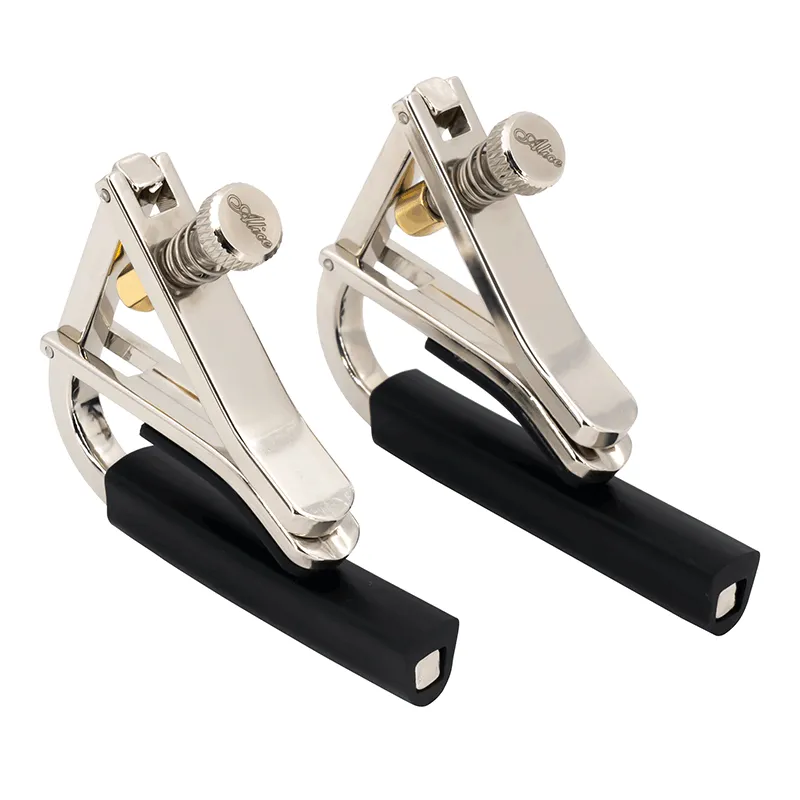
What Is a Guitar Capo Used For?

How to Choose the Right Guitar String Gauge: Light, Medium, or Heavy?

What Strings Are Best for an Acoustic Guitar?

Electric Guitar Strings vs Acoustic Guitar Strings Difference, and Can Swap Them?


